
🪙 Token economy
Drain the Lake Tokens — earn, spend, and upgrade rhythm
See the full Drain the Lake loop: fill bucket, pour for Tokens, spend at the Upgrade Computer, and repeat until your run snowballs.
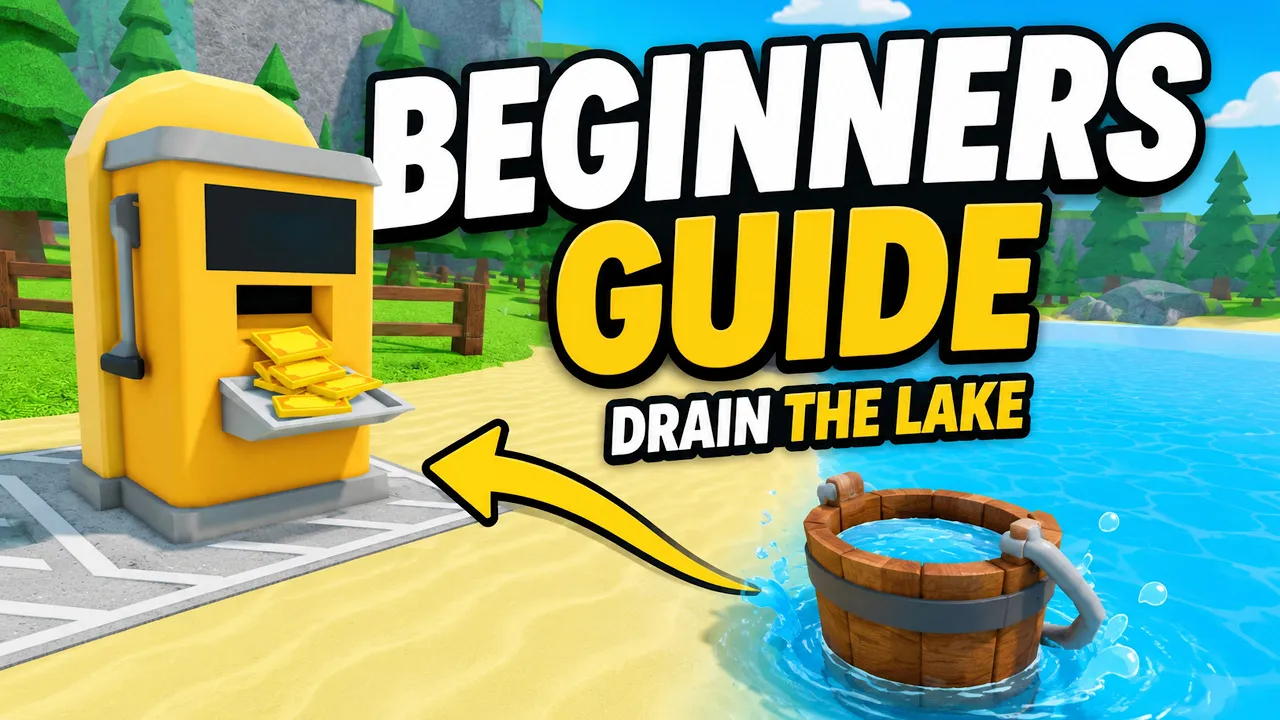
Drain the Lake Token planning for Roblox — spend every run, hoard never.
🪙 Token economy
See the full Drain the Lake loop: fill bucket, pour for Tokens, spend at the Upgrade Computer, and repeat until your run snowballs.
Tokens are the run currency in Drain the Lake. You earn them by pouring water at the drain station and spend them at the Upgrade Computer on the skill tree.
This Drain the Lake token planning page answers when to spend, when to skip expensive nodes, and how Tokens differ from lobby Gems — the two currencies confuse new Drain the Lake Roblox players constantly.
Every match is run-based: Tokens and skill tree progress reset when you return to the lobby. Gems, buckets, and claimed badges persist. Plan each run as a self-contained sprint, not a savings account.
The official loop is fill bucket → drain for Tokens → upgrade → go deeper. Token planning is just naming which upgrade deserves the next pour payout.
Pair this guide with the drain cycle if you have not stabilized four-step loops yet, and best upgrades for phase-by-phase branch picks.
Every full bucket pour at the drain station converts water into Tokens. More water removed per trip means more Tokens — capacity and fill speed both raise income indirectly.
The Reward branch (Token income) multiplies payout per drain. Cheap Reward nodes early snowball every later trip in Drain the Lake.
Deeper lake layers can pay more per volume when your build survives there — but only after shallow loops feel fast. Rushing depth with weak Tokens per minute is the main stall pattern.
Press F on PC from the lake to teleport to the drain once unlocked. More trips per minute means more Tokens per real-world minute — movement upgrades help until deep water shrinks the map.
Chests exposed while draining grant Gems, not Tokens. Do not confuse the two currencies when planning your next purchase.
| Source | Currency | Persists? |
|---|---|---|
| Drain station pour | Tokens | No — run only |
| Chest while draining | Gems | Yes — lobby |
| Badge claim at lobby | Gems | Yes — lobby |
| Skill tree node | Spends Tokens | Run only |
Spend Tokens immediately after identifying your slowest step — not after ten more slow loops. Hoarding while fill or walk time dominates is the most common Drain the Lake mistake.
Buy one or two cheap nodes per drain trip when possible. Two inexpensive upgrades often beat one expensive leaf node early in Drain the Lake Roblox.
Re-test after every purchase: if Tokens per minute rises, buy the same branch again. If flat, switch branches using the bottleneck table on best upgrades.
Mid-run, max affordable Bucket and Reward nodes before Quick Drain. Pour speed only matters once fill and income keep up.
Late-run, sprinkle remaining Tokens on Depth gates only when shallow income plateaus — not when you still struggle in the first checkpoint zone.
Early Drain the Lake token planning favors the lowest-cost nodes in Bucket and Reward branches. Guides consistently warn against buying expensive leaves before income rises.
Expensive nodes look powerful on paper but delay your next five loops. Five slow loops without upgrades often cost more Tokens than the price difference of a cheap node.
Character movement nodes vary in cost — one cheap speed point early helps most shallow accounts because walking happens every trip.
Quick Drain expensive tiers wait until Bucket and Reward cheap tiers are maxed. Pour animation becomes the bottleneck only after capacity grows.
Depth nodes are inherently expensive gates. Treat them as purchases you save toward within a run — but only after Token income per minute supports the deeper zone.
| Node type | When to buy | Tier |
|---|---|---|
| Cheap Bucket / Reward | First 5–10 minutes | S |
| Cheap Character speed | If walking > waiting | S |
| Quick Drain mid tiers | After Bucket + Reward online | A |
| Depth unlock gate | Shallow loop trivial | B |
| Gems branch bonus | Chest-heavy mid run | B |
Most Drain the Lake accounts should prioritize Character movement first — faster lake-to-drain trips compound Token income across the whole run.
If fill animation exceeds walk time in your first three loops, buy Bucket fill speed before stacking more Character nodes.
Reward / Token income shines after routes feel smooth. Buying income before fixing walk or fill can feel strong but hides a slower underlying loop.
Quick Drain ranks mid-priority — essential once capacity is high, wasteful if you still make partial trips with a small bucket.
Gems branch nodes are luxury Token spends for chest-heavy routes. Depth opens harder water — buy only when stuck fixes no longer apply to shallow zones.
| Branch | Token focus | Priority |
|---|---|---|
| Character | Movement speed between lake and drain | S |
| Bucket | Fill speed & water capacity | S |
| Reward | Token income per drain | S |
| Quick Drain | Pour speed at the drain station | A |
| Gems | Bonus Gems from chest drops | B |
| Depth | Unlock deeper lake layers | A |
"Saving" Tokens for Depth unlocks is the only partial hoarding that makes sense — and only when shallow Drain the Lake Roblox loops already feel fast.
Before buying a Depth gate, ask: can I earn back the gate cost in shallow water within a few minutes? If no, fix Bucket or Reward first.
Each depth layer adds sharks and longer recovery unless checkpoints are set. Budget Tokens for a checkpoint push alongside the depth purchase when a flag mast is visible.
If you buy depth and immediately die repeatedly, your Token plan failed — retreat to shallow water, max cheap nodes, grab the checkpoint, then retry the gate.
Depth Tokens are not an investment for the next run. They only matter if they unlock more drain volume in the current match before you extract Gems to lobby.
Tokens power the current run at the Upgrade Computer. Gems buy lobby buckets and come from chests plus badge claims.
Never skip Gem income to spam marginal Token nodes — a Metal or Ancient Bucket passive can outperform three mediocre Token leaves on the next run.
End-of-run ritual: exit to lobby, claim badges at the Badges station, spend Gems on a bucket upgrade, then re-queue. That sequence is higher ROI than one extra Token leaf in a dying run.
Tokens answer "how fast is this match?" Gems answer "how strong is my next match?" Plan both every session in Drain the Lake.
Use the upgrade calculator when you want numbers behind the next Token purchase versus saving lobby Gems for Ancient Bucket at 10 badges.
Pour water at the drain station after filling your bucket at the lake. Reward branch nodes increase payout per pour.
No for early and mid run — spend on bottlenecks immediately. Only pause briefly before expensive Depth gates once shallow income is high.
No. Gems, buckets, and claimed badges do carry over.
Cheap Bucket + Reward nodes, Character movement if walking hurts, Quick Drain mid-run, Depth last. See best upgrades.
Matched by build plan, shared topics, and guide progression — not random related links.